Getting Started With Timesheet Entry
An introduction to the entry of weekly time using your Senomix timesheet software.
More detailed information about your time and expense entry application can be found in your Time and Expense Entry Users Guide.
To sign in to your Senomix account, you will connect with your email address username and password along with your office's account name.
Your application sign-in screen can be reached by opening the web page:
With that screen providing a form in which you can enter your sign-in details:
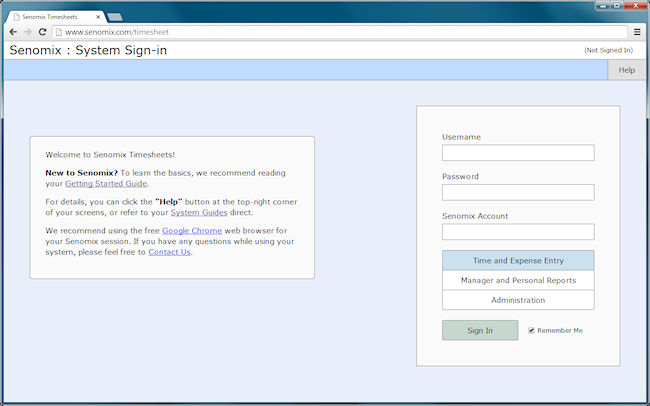
The email and password to enter for your sign-in will be those entered for you by your Senomix administrative user (or, for your first sign-in, the email and password you provided when creating your hosting plan account).
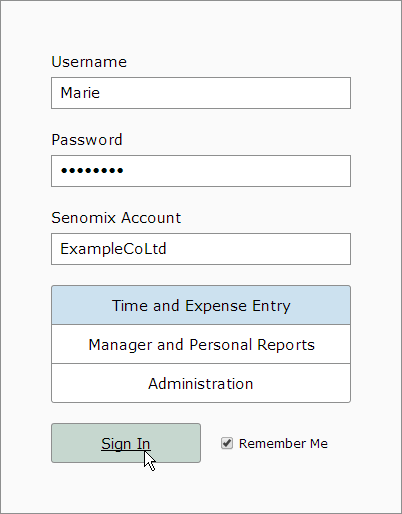
Your office's Senomix Account will be your "Company Name" (as entered when signing up for your Senomix account) with all space characters and punctuation removed. For example, if your "Company Name" was provided as "Example Co. Ltd", the Senomix Account name to enter for your sign-in would be "ExampleCoLtd" (you can also enter your account name in all lower-case letters, like "examplecoltd").
An email with your Senomix account name and other information will have been sent to your office when first registering. If you have forgotten or misplaced your office's Senomix account details, please do Contact Us for assistance.
The Senomix application to which you will be connecting can be selected from the three options provided just above your sign-in button:
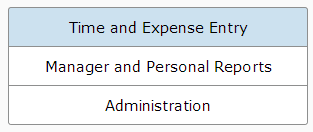
Options for your time and expense entry, reports and administration applications are provided, with your selected application highlighted in blue. To sign in to your time and expense entry application, the first button will be selected, as shown above.
After entering your email username, password, company account name, and selecting your Senomix application, click the green 'Sign In' button to connect:
You will then be signed in to your Senomix account and brought to your Main Menu screen:
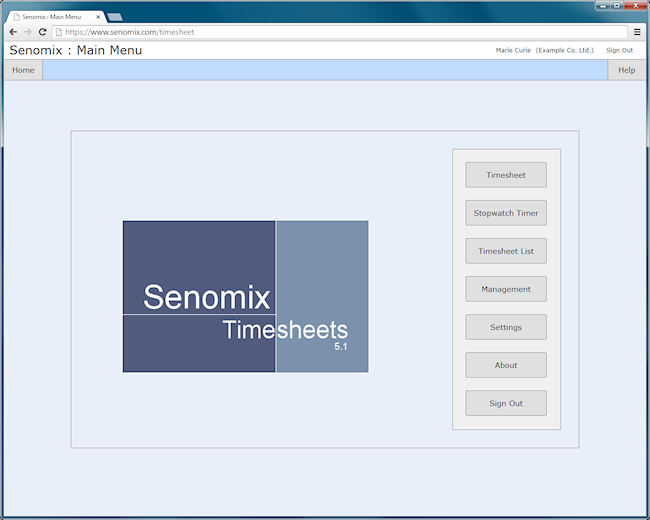
You are now connected to your Senomix Timesheets account and are ready to record your time.
Quick Tip
If you would like to have a one-click sign-in from your computer for time entry,
just set the "Enable Automatic Login" checkbox to "on" in your Settings screen.
With that item set, your email username and password will be remembered
on your computer, and you will be brought right to your Main Menu screen
whenever you visit www.senomix.com/timesheet
Information about other settings you might find helpful can be found in
your Senomix Timesheets Time Entry User Guide.
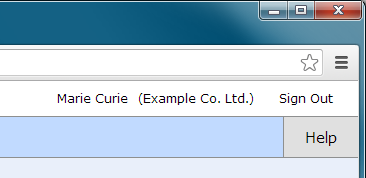
After signing in, your own name and company name can be seen at the top-right corner of every system screen:
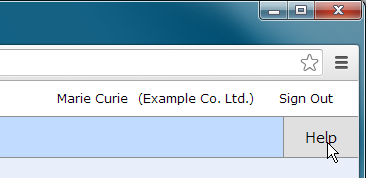
The "Help" button at that top-right corner can be clicked at any time to provide help for the screen you are currently viewing:
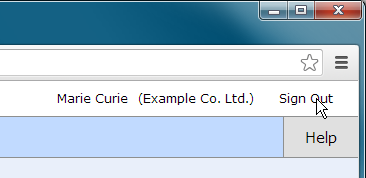
And the "Sign Out" link can be used to disconnect your Senomix session:
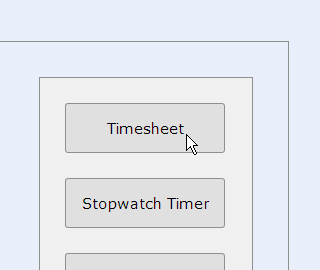
Your timesheet entry screen can be reached from your main menu by clicking the "Timesheet" button located at the top of your screen's button bar:
When first opened, your timesheet screen provides you with a blank timesheet in which you can enter your information:
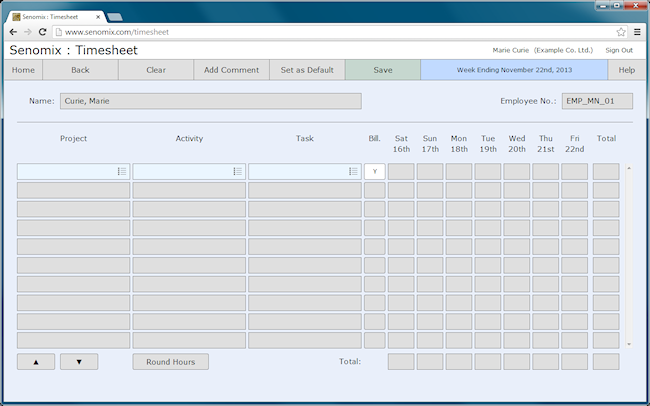
You will see your name and employee number listed at the top of your screen, along with the week ending date of the current week. The timesheet record shown after clicking the main menu "Timesheet" button will always be the record for the current week of your office. If you would like to review past timesheets, you can find those records through your timesheet listing screen.
When your timesheet screen is empty, the only available data entry options are the project, activity and task selection fields in your time sheet's first row:

You can make your billing code selection for that timesheet row by clicking one of the project, activity or task selector fields to open your selector dialog. As the project field for that selector is still empty, you will be brought to your project list regardless of the field you have clicked:
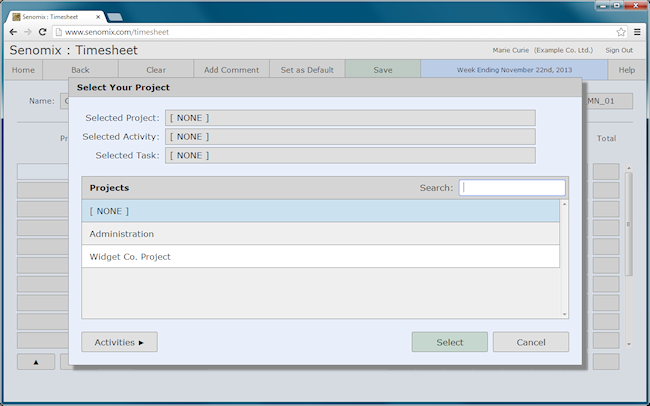
If you would like to read a detailed description of how to use your billing code selector to choose projects, activities and tasks for your timesheet, just click this link.
Once you have selected the project, activity and task combination for your time sheet row, the hours fields for that row will be enabled to allow your time entry, as with this example of selecting the "Administration" / "Vacation" project and activity:
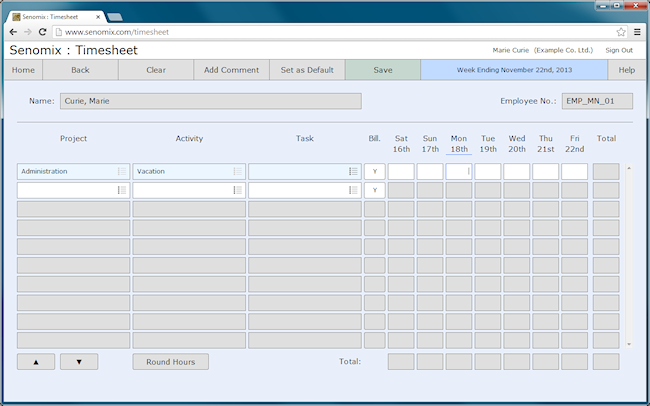
Your screen will also automatically select the current day of the week for you. For example, if 'today' was Monday, November 18th, the time entry field for Monday would be automatically selected, as shown above.
As this particular work (Vacation) will not be billable, we will also click the Bill. checkbox to "N", indicating that the row contains non-billable hours:

The billing code selector on the next line will also be enabled to allow your continued entry of time. For this second row, we'll select the Design activity and Database Design task for the Widget Co. Project:

As this tracked time is to be considered billable, we will leave the Bill checkbox set at "Y", and enter "7" in the hours field to indicate the time spent on that work:
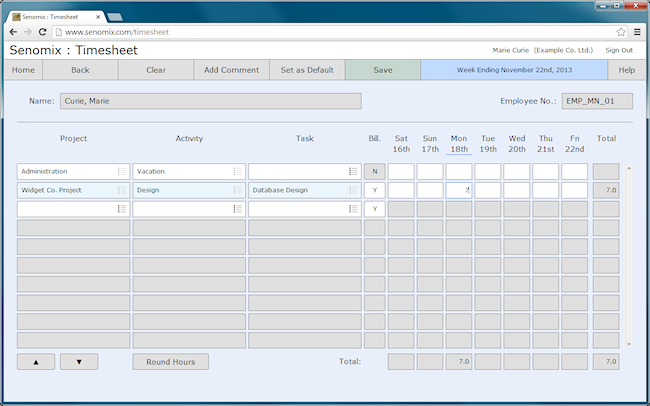
Note that the selector fields of the active row are shaded a light blue colour, with the heading day of the week for the selected time entry field also highlighted with a blue line. This row and column highlighting provides a visual reference to help you quickly identify the area of your time sheet which has focus.
The row and column totals are also automatically updated to take into account any added time entries. These totals provide a guide to help confirm the correct amount of time has been entered for your day, week or tracking row. When your timesheet is saved, any numbers which have not been provided with a decimal value (such as the '7' just entered) will be automatically set to a '.0' to correspond with any fractional hours (such as '3.5' or '2.25') which may be entered.
To clear a row of time sheet data, select the "[ NONE ]" option for your project billing code in the row to be cleared. Using the example just entered, selecting the "[ NONE ]" option from the project selector would produce this result:
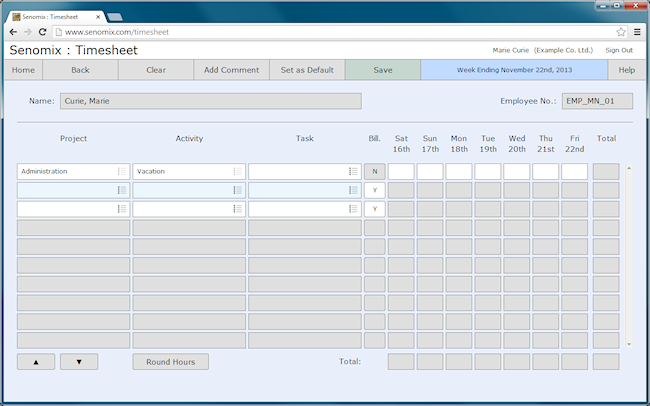
With the row of data now cleared and the Total row and column updated to reflect the change.
If you reach the bottom of your timesheet lines, as shown in this example:
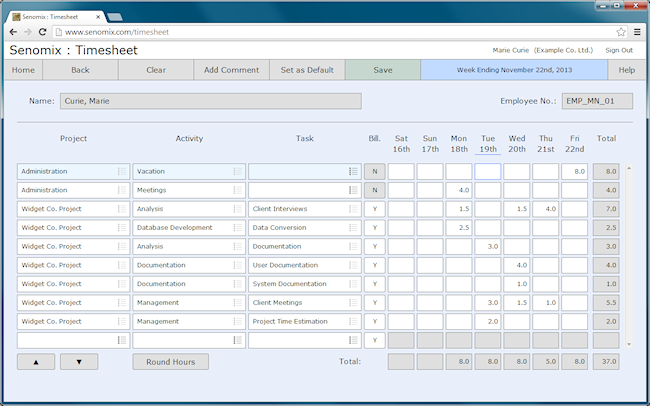
After selecting a billing code in the last row of your time sheet grid, a new entry row will be automatically added to the bottom of your list to provide space to record your work, with the scrollbar on your screen enabling to allow you to move the scroll area focus up or down:
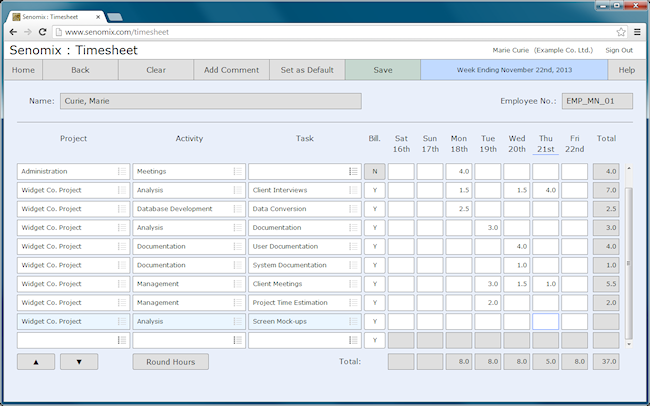
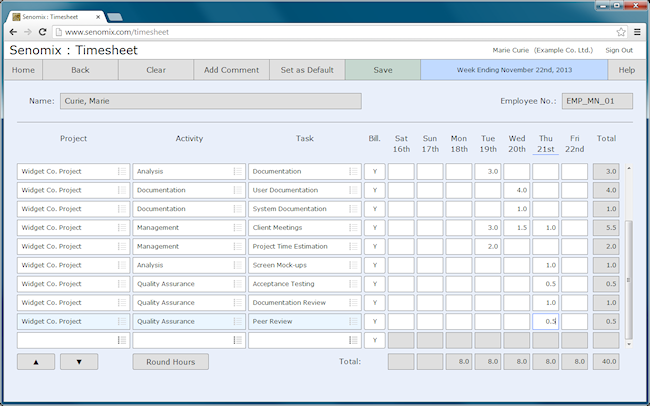
As billing codes are added for each record row, additional rows will be added to your screen in order to provide as much space as you require for your time tracking:
To attach a comment to a time sheet entry, select the hours field of interest and either click the "Add Comment" toolbar button or type the "Enter" key (if using Windows Internet Explorer, the Enter key is not available for this option). A Comment Entry dialog box for your selected hours will then be displayed:
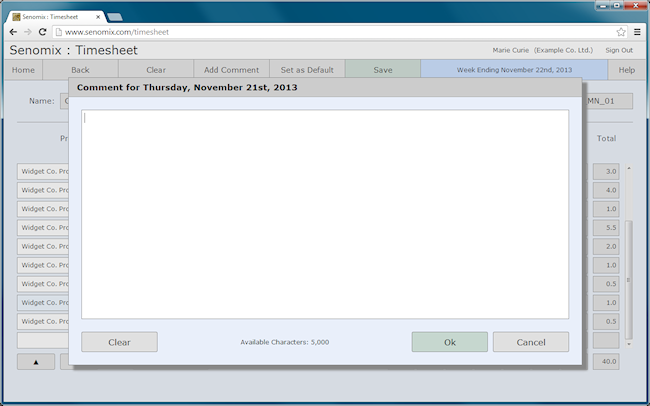
Up to 5,000 characters can be added to a time tracking comment, with each hours entry of your time sheet able to hold a comment of its own.
Comments can be used to provide whatever additional information you would like to save. For example, if you discovered that an additional billing code would be helpful for a project, that detail could be provided in an attached timesheet comment:
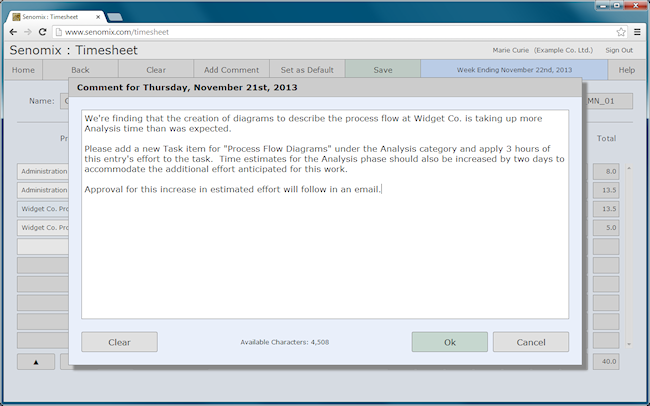
To apply your comment to the selected time sheet entry, click the "Ok" button on the dialog box or use the key combination ctrl-Enter to close the dialog. Once the comment has been added to the entry, the hours field will be coloured a light-green shade to indicate that there is associated text:
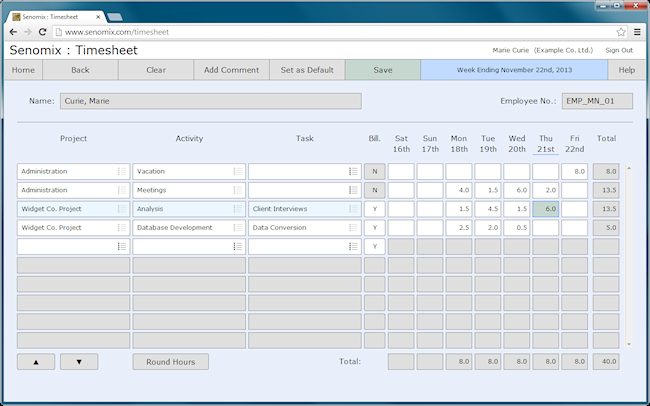
That text can be read by opening the comment dialog box again, or by viewing the tool tip text displayed when holding your mouse cursor over the timesheet entry field of interest:
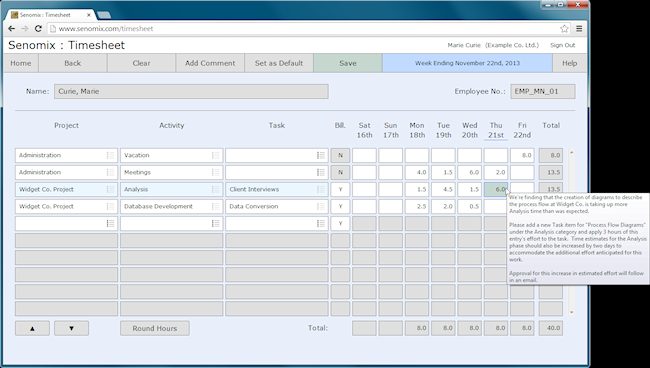
Timesheet comments can also be viewed in a Comments report created either by clicking the "Get Comments" button on your read-only timesheet details screen, or by creating a Comments report in your Administration application.
To remove a comment from a time sheet entry, open your Comment Entry dialog box and clear the comment text either by deleting the text or using the "Clear" button provided in the dialog. Once all text has been removed from the Comment Entry dialog, click the "Ok" button to apply the change and clear the comment from your selected time entry.
After entering your time tracking details:
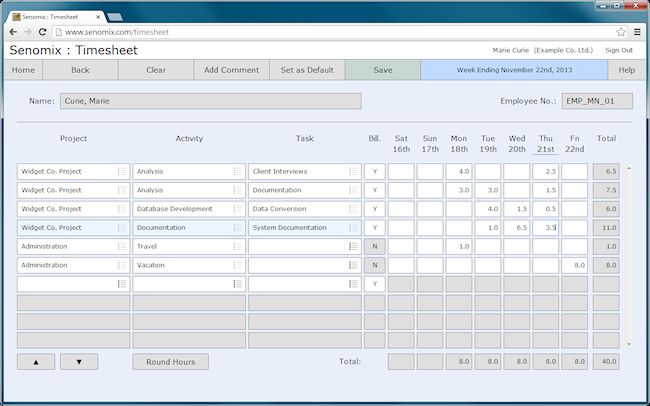
You can save your record by clicking the green "Save" toolbar button. After clicking that button, a pop-up message will appear once your record has been saved:
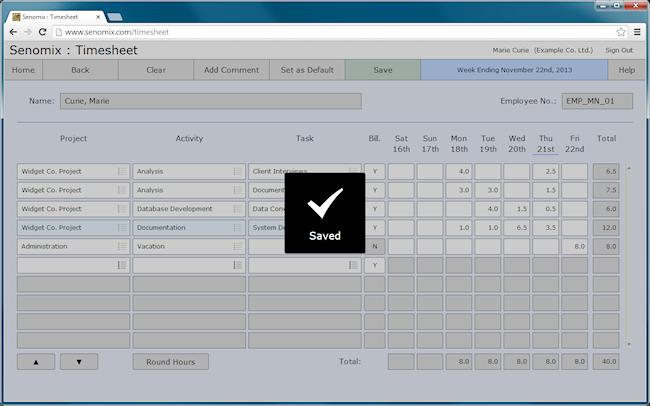
This indicates that your timesheet save process has been completed, with your entered information now recorded on your server.
If you would like to change your recorded time and comments, just re-enter your timesheet screen and adjust your hours as you would like. After clicking the Save toolbar button again, your changes will be saved on your server.
Your timesheet can be updated and re-saved as many times as you would like until you have marked your timesheet as complete for the week, or until your manager has approved (and locked) the record.
When opening your timesheet from your main menu, you will also be provided with a pair of previous / next arrow buttons on either side of your displayed week ending date:

When clicked, these buttons will move your displayed timesheet week forward or back. This allows you to review past weeks of time, or select a previous or future work week to record hours for a different time period (for example, to complete a missed previous week's timesheet, or to record timesheets in advance for a period of vacation).
At this point, you have learned how to log in to your time entry application, enter your weekly timesheet, and save your timesheet to your office's Senomix Timesheets Server. Many other options are available for the entry, editing and review of your timesheet information, such as the automatic recording of time with your Senomix Stopwatch:
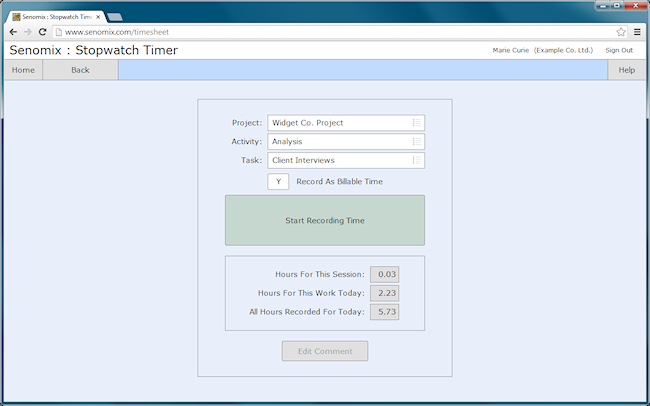
When using your stopwatch timer, please do keep your computer powered on and connected to your computer network while the timer is recording your work. The stopwatch timer will not be able to record your time if your computer is turned off.
Expense claims can also be entered much like your weekly timesheets:
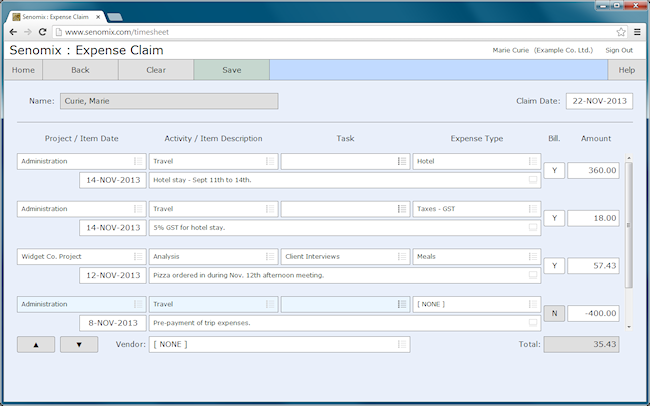
Information about these options is provided in your Time Entry Users Guide. That guide (and all other system guides) is available for your review on your Documentation page at:
Detailed descriptions of all system screens can be found in your user guides, with a quick reference also provided on your How Do I..? page at:
Your How Do I..? page provides step by step instructions for many common system functions such as saving a timesheet, reviewing timesheets from past weeks, and submitting expense claims.
If you have any questions while learning to use your new system, you can contact us by e-mail at support@senomix.com or call us at our Toronto office during (North American Eastern Time) office hours to speak directly with someone familiar with your system.
Our phone number, email addresses and an online contact form can be reached through the Contact page of our web site:
We hope you find Senomix Timesheets a helpful addition to your office and welcome any suggestions you might have as to how your system can better serve you in the future.
255 Richmond St East, Suite 201
Toronto, Ontario
Canada, M5A 4T7
(416) 803-9705


